How To Deep Clean Your Oven – Simple & Effective Steps

“Proud Homemaker is part of several affiliate marketing programs, so we may earn commissions on products selected and purchased through our retailer links.”
Deep cleaning the oven is a task that we often procrastinate due to its time-consuming and labor-intensive nature. Not to mention Ovens are like the crime scenes of the kitchen, right? You’ve got steak drippings pooling at the bottom, a rogue fry turned to charcoal, and a greasy film on the glass that’s basically a barrier to seeing inside. It’s enough to make any person cringe!
However, it’s crucial to maintain kitchen hygiene and ensure the efficiency of the appliance. Over time, grease, spills, and food residue accumulate, leading to unpleasant odors and potentially affecting the taste of cooked meals. A thorough cleaning not only restores the oven’s appearance but also eliminates harmful bacteria and reduces fire hazards.
If you are feeling overwhelmed about where to start with cleaning your oven? Don’t sweat it. Sure, it seems daunting, but trust me, the payoff of a squeaky-clean oven and tastier meals is totally worth the effort. The good news is that deep cleaning your oven isn’t rocket science. From easy-peasy hacks to powerful grease-busting solutions, I’ve got you covered with everything you need to know about oven cleaning. By following a systematic approach and using appropriate cleaning agents, you can achieve a sparkling clean oven and enhance the overall functionality of your kitchen. Let’s dive in!
Related post: The 7 Top-Rated Oven Cleaners, Approved By Cleaning Experts
Deep Cleaning Your Oven

1. Cleaning Using Commercial Oven Cleaner:
Let’s delve into the process of using a store-bought oven cleaner to tackle the grime in your oven. Start by preparing the oven, ensuring that any large food remnants are removed. This step sets the stage for effective cleaning.
Next, prioritize safety by donning gloves and a face mask to shield yourself from the potent chemicals in the cleaner. Once protected, evenly apply the oven cleaner to the interior surfaces of the oven, ensuring thorough coverage, especially in areas where grease and grime tend to accumulate.
Allow the cleaner to sit for a minimum of 30 minutes, allowing it ample time to penetrate and dissolve the stubborn residue. After the designated time has elapsed, use a damp cloth or sponge to wipe away the softened grime, revealing a cleaner oven surface.
Depending on the severity of the buildup, you may need to repeat the process until you achieve the desired level of cleanliness. Finally, ensure proper ventilation in the kitchen to dissipate any remaining fumes from the cleaning process. With these steps completed, your oven will be left sparkling clean and ready for your next cooking endeavor.
Read also: How to Clean Your Stovetop Like a Pro: Glass, Gas & Electric
2. Cleaning Using DIY Oven Cleaner
Materials Required:
- White vinegar
- Soft cloths
- Gloves and protective eyewear
- Dishwashing liquid
- Aluminum foil
- Baking soda
- Scouring pads
- Plastic scraper
- Paintbrush
Step 1: Preparing DIY Paste
Mix 3/4 cup of baking soda with 1/4 cup of warm water until you achieve a smooth paste-like consistency. If you wish to incorporate essential oils for fragrance, this is the perfect stage to add them. Just a couple of drops should do the trick, but feel free to adjust the amount according to your preference.
Step 2: Cleaning Oven Racks

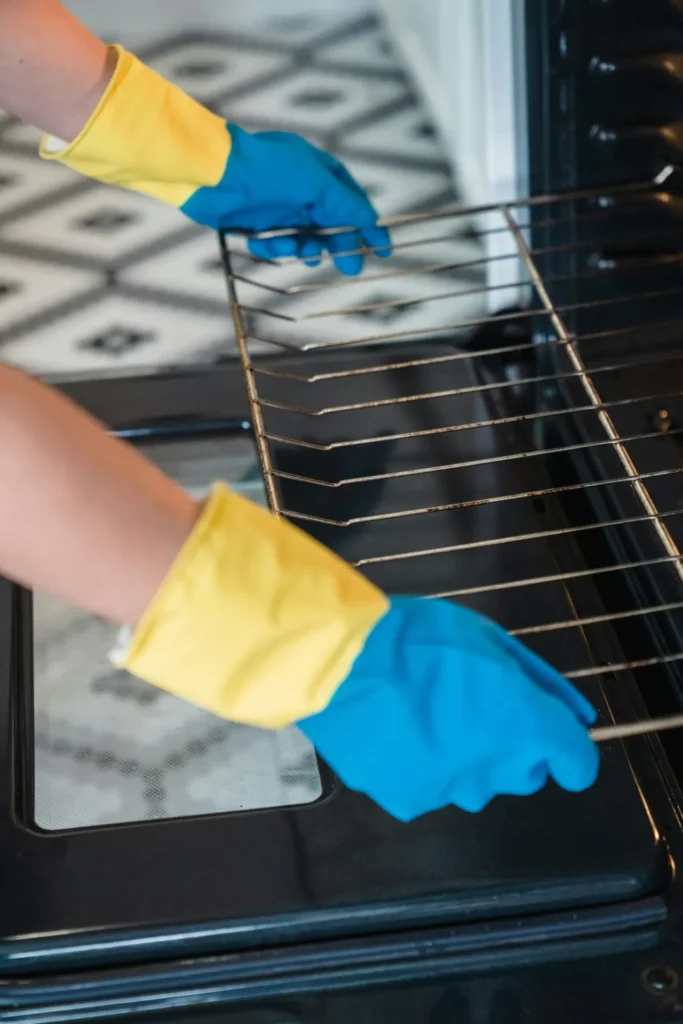
It’s crucial to remove your oven racks before running the self-cleaning function to prevent warping from the intense heat. After taking them out, place them in a sink or bathtub lined with towels and filled with warm water and dishwashing liquid. Let them soak for a few hours to loosen any grime. Once soaked, scrub the racks thoroughly using a scouring pad to remove any stubborn residue. Rinse them well with water and ensure they are completely dry before returning them to the oven.
Step 3: Applying the DIY Paste
Regardless of whether your oven runs on electricity or gas, it’s essential to steer clear of applying the paste onto delicate areas like light and heating elements, thermostats, wiring, and any openings within the oven. Shield these vulnerable spots with foil to prevent any paste from coming into contact with them. Using a paintbrush, evenly distribute the paste throughout the interior of the oven, ensuring to avoid direct contact with bare metal surfaces and the oven door.
For those stubborn nooks and crannies, employing an old toothbrush can be particularly effective in reaching tight corners and tough spots. For a thorough clean, allow the paste to work its magic for a duration of 12 to 24 hours, ensuring maximum effectiveness in loosening grime and residue.
Read also: 10 Best Stovetop Cleaners in 2024 – Approved By Cleaning Experts
Step 4: Removing the Paste
Get rid of the baking soda paste by scraping it off with a plastic scraper. If it’s stubborn, dampen the scraper. Then, wipe down the oven with a damp cloth until it’s streak-free. Repeat if necessary.
Step 5: Clean the Oven Door and Glass

Clean the oven door and glass by wiping it down with a soft cloth dipped in a solution of equal parts water and white vinegar. Be careful not to wet the gasket during the cleaning process.
Read also: How To Clean Your Electric Kettle: Simple & Easy Steps
3. Cleaning Using the Self-Clean Function
Ever heard of an oven that does the cleaning job itself? Surprisingly, many modern models boast this handy feature. When you turn on the self-clean cycle, your oven heats up to a scorching 880 degrees Fahrenheit. This high heat burns away any leftover food, leaving only ash behind. After the cycle finishes, a quick wipe with a damp cloth is all it takes to make your oven shine like it’s brand new.
This self-cleaning feature is like a dream come true for many cooks. No need for strong chemicals or making your own cleaning mixtures. Just turn it on and let it do its thing, right? Well, almost. While your oven gets super hot like a sauna for a few hours, be ready for a not-so-nice smell in the kitchen. It’s a good idea to keep pets and curious kids away while it’s doing its job.
Before you start the self-clean cycle, remember a few things. First off, avoid using commercial oven cleaners or liners—they can harm the enamel on your oven. Also, depending on your oven, you might need to take out pans and racks first. And always let your oven cool down before cleaning. If there are tough stains, you might need to run the self-clean cycle a few times, and you might still need to scrub a bit to get rid of stubborn stuff. But trust me, it’s worth it for a super clean oven in the end!
How Often You Should Deep-clean Oven?
How often you deep clean your oven depends on how frequently you use it and how messy your cooking tends to get. As a general rule of thumb, it’s a good idea to deep clean your oven every three to six months to keep it in top condition. However, if you notice excessive buildup of grease, food residue, or unpleasant odors, it’s best to tackle the cleaning sooner rather than later.
Also, if you use your oven frequently or for high-temperature cooking methods like roasting or broiling, you may need to deep clean it more often. Ultimately, trust your judgment and clean your oven as needed to maintain optimal performance and hygiene.
Oven Maintenance Tips from Proud Homemaker!
- Keep your oven spick and span by giving it a wipe-down regularly. This helps prevent grease and food residue from building up inside.
- If your oven racks are clean but still stubbornly sticking, a simple fix might do the trick. Grab a cloth and apply a small amount of vegetable oil to the right and left sides of the racks—the parts that touch the side tracks. Make sure to use vegetable oil specifically, as it can handle high temperatures better than other types of oil. This should help your racks slide in and out smoothly, making cooking and cleaning hassle-free
- To simplify cleanup and safeguard your oven from stains, consider placing oven liners or mats on the bottom. These handy accessories catch spills and drips, ensuring that messes are contained and your oven stays looking its best with minimal effort.
- Use mild, non-abrasive cleaners when cleaning your oven to avoid damaging the interior surfaces.
- Don’t forget about the vent or filter in your oven, whether it’s part of a range hood or a wall oven. It’s essential to follow the manufacturer’s instructions for cleaning or replacing it to ensure proper ventilation. This helps keep your kitchen air clean and prevents any potential issues with your oven’s performance.
Read also: 12 Brilliant Uses of Lint Roller That You Should Know


5 Comments